
Last Updated: June 2026 | Reading Time: 9 minutes
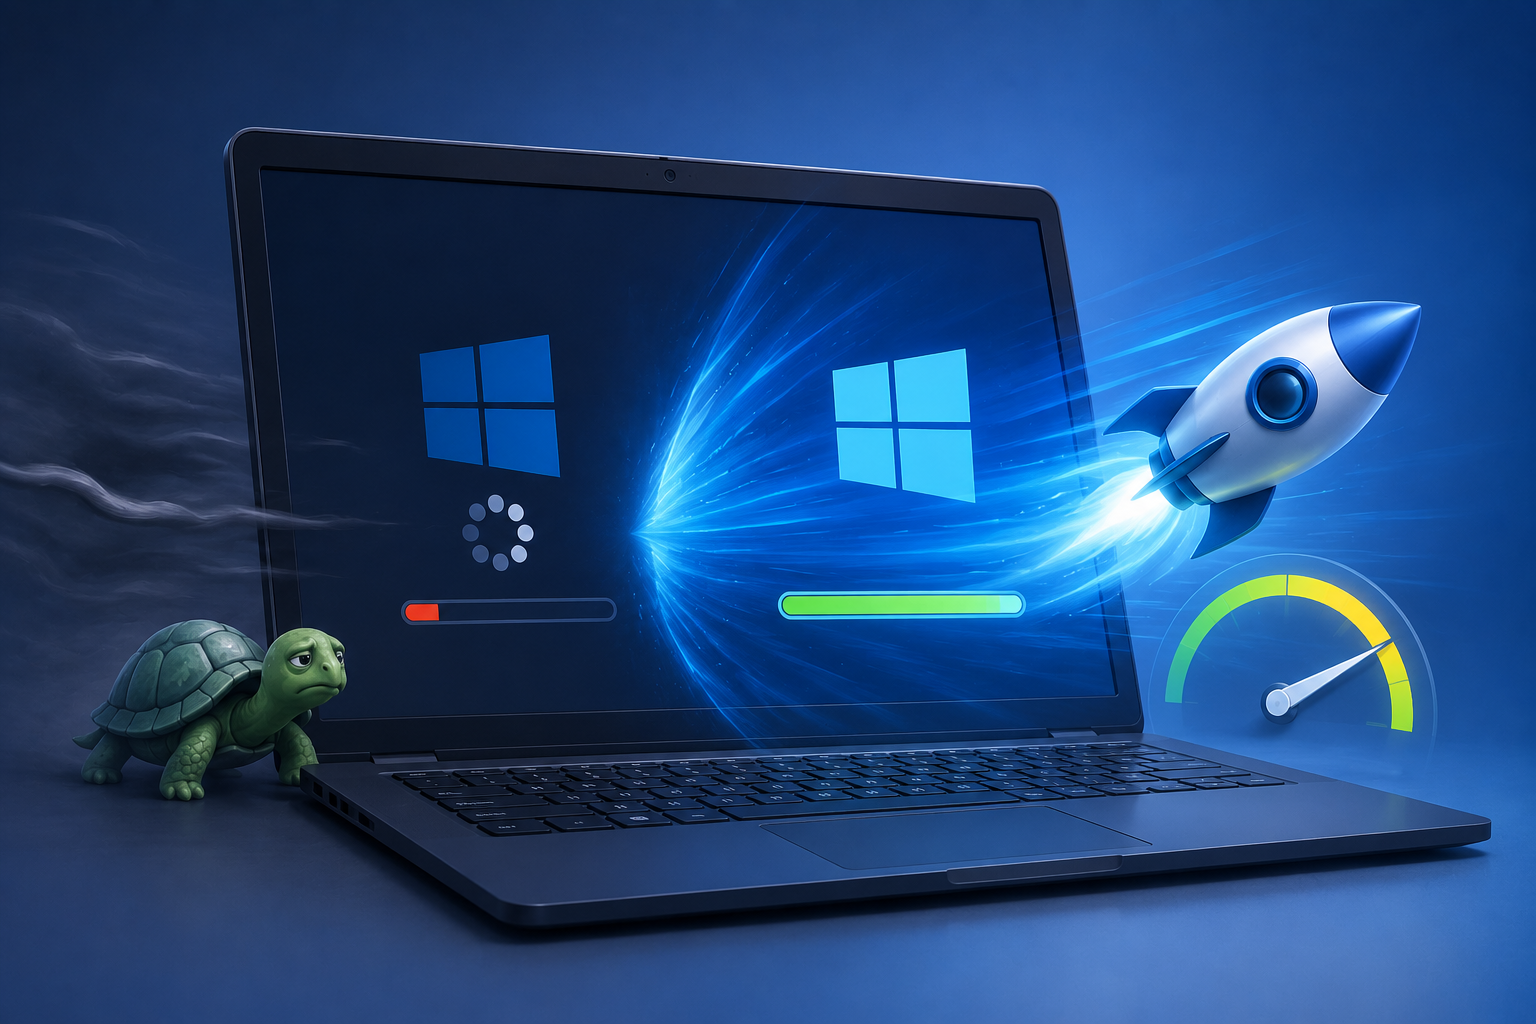
Why Laptops Slow Down Over Time
Windows laptops do not become slower inherently. The hardware performs identically years later unless physically damaged. What degrades is the software environment accumulating burden. Startup programs multiply like weeds. Temporary files fill storage. Background services compete for limited memory. Each incremental addition seems harmless until the cumulative weight drags responsiveness to a crawl.
Manufacturers worsen this by preinstalling trial software, utilities you never requested, and partner promotions. This bloatware consumes resources from day one. Updates intended to improve security sometimes introduce inefficiencies. Antivirus suites balloon with features irrelevant to your usage. Browser extensions accumulate until tabs consume gigabytes of RAM.
Understanding these causes matters because the fixes target specific problems rather than applying generic hope. You can restore most laptops to satisfying performance without purchasing new hardware.
Audit and Disable Startup Programs
Every program registering itself to launch at boot extends startup time and consumes background RAM. Many applications assume their importance justifies permanent residence in memory. Most do not.
Open Task Manager with Ctrl+Shift+Esc. Navigate to the Startup tab. Examine each entry’s startup impact rating—Low, Medium, High. Disable anything non-essential. Common culprits include chat clients, music streaming services, game launchers, Adobe updaters, and manufacturer utilities. Keep antivirus, keyboard drivers, and cloud sync if you actively use them. Everything else can start manually when needed.
Right-click entries you do not recognize and select Search online to identify them. Some cryptic names belong to necessary system components. Others are leftover debris from uninstalled software. Err toward caution. Disabling a legitimate service causes temporary inconvenience. Re-enabling it fixes that. Disabling malware masquerading as a system component requires deeper investigation.
Uninstall Bloatware and Unused Software
Navigate to Settings > Apps > Installed apps. Sort by install date or size. Remove anything you do not recognize or use. Pay special attention to manufacturer-branded utilities, trial versions of antivirus suites, and games you never requested. These consume storage and sometimes run background processes.
Be methodical. Uninstall one program, reboot, verify stability, then proceed. Bulk uninstallation sometimes removes shared libraries that other applications need. If a program resists standard uninstallation, use dedicated removal tools like Revo Uninstaller or the manufacturer’s own cleanup utility.
After uninstallation, restart the laptop. Windows finalizes removals during reboot. Skipping this step leaves remnants consuming space and potentially conflicting with remaining software.
Clean Temporary and Junk Files
Windows accumulates temporary files, update caches, browser data, and error logs indefinitely. Disk Cleanup, a built-in utility, removes much of this safely.
Search for Disk Cleanup in the Start menu. Select your system drive, typically C:. Check the boxes for Temporary files, Thumbnails, Recycle Bin contents, and Delivery Optimization Files. Click “Clean up system files” to access Windows Update cleanup and previous Windows installations. These often consume 10 to 20 gigabytes.
For deeper cleaning, third-party tools like BleachBit or CCleaner remove additional caches. Exercise caution with registry cleaners—they rarely improve performance and sometimes cause instability. Stick to file deletion features you understand.
Browser caches deserve separate attention. Chrome, Edge, and Firefox hoard gigabytes of website data. Clear browsing data monthly, keeping passwords and autofill if desired. Extensions like The Great Suspender or OneTab reduce tab memory consumption by suspending inactive pages.
Upgrade to an SSD
If your laptop still uses a mechanical hard disk drive, replacing it with a solid-state drive transforms performance more dramatically than any software tweak. Boot times drop from minutes to seconds. Applications launch instantly. File searches complete before you finish typing.
Verify your laptop’s storage interface. Most laptops from the past decade use 2.5-inch SATA drives. Newer thin models employ M.2 slots supporting SATA or NVMe SSDs. Consult your manual or manufacturer specifications. Purchase an SSD matching the interface, clone your existing drive using Macrium Reflect or similar software, then swap the hardware.
For laptops with only M.2 slots, verify whether they support NVMe or SATA M.2 drives. The physical connectors differ slightly. An incompatible drive either does not fit or operates at reduced speed. When uncertain, SATA M.2 drives work in most slots but sacrifice NVMe performance.
Expand RAM Capacity
Modern Windows struggles with less than 8 GB of RAM. Browser tabs alone consume 2 to 4 GB. Office applications, communication tools, and background services fill the remainder. When RAM exhausts, Windows swaps data to storage—agonizingly slow on HDDs and merely annoying on SSDs.
Check current usage in Task Manager’s Performance tab. If memory sits above 80% during normal use, expansion helps. Many laptops have accessible RAM slots beneath a bottom panel. Others, particularly ultrabooks, solder RAM permanently. Verify upgradeability before purchasing modules.
Match existing RAM specifications: DDR4 or DDR5 generation, speed in megahertz, and form factor. Mixing speeds works but downclocks everything to the slowest module. For dual-channel performance, install matched pairs in corresponding slots. A single 16 GB module performs worse than two 8 GB modules in most scenarios.
Update Drivers and Firmware
Outdated drivers cause performance degradation, compatibility issues, and security vulnerabilities. Graphics drivers particularly impact visual responsiveness and gaming performance. Network drivers affect download speeds and connection stability.
Visit your laptop manufacturer’s support page. Enter your model number and download the latest chipset, graphics, network, and audio drivers. Install systematically, rebooting between major updates. Windows Update handles some drivers but often lags behind manufacturer releases by months.
BIOS or UEFI firmware updates sometimes improve thermal management, fan curves, and hardware compatibility. Apply these cautiously—a failed firmware flash bricks the motherboard. Follow manufacturer instructions precisely, ensure stable power, and do not interrupt the process.
Adjust Windows Visual Effects
Windows 10 and 11 default to visual flourishes—transparency, animations, shadows, and live previews. These consume GPU and CPU resources on older or integrated graphics. Disabling them recovers responsiveness without functional loss.
Search for “Adjust the appearance and performance of Windows.” Select “Adjust for best performance” to disable all effects, or manually uncheck specific options like “Animate windows when minimizing and maximizing,” “Fade or slide menus into view,” and “Show shadows under windows.” Keep Smooth edges of screen fonts for readable text.
This adjustment particularly benefits laptops with Intel integrated graphics or older AMD APUs. Modern dedicated GPUs handle these effects effortlessly, making the change less impactful on gaming-oriented machines.
Scan for Malware and Resource Hijackers
Malicious software consumes resources covertly. Cryptocurrency miners, botnet agents, and adware run background processes that degrade performance while stealing data or computing power.
Run a full scan with Windows Security or your chosen antivirus. Supplement with Malwarebytes or a similar secondary scanner for broader detection. Check Task Manager’s Processes tab for unfamiliar entries consuming excessive CPU or RAM. Search their names online to identify legitimate system processes versus intruders.
Browser hijackers manifest as unwanted toolbars, changed homepages, or excessive ads. Reset browser settings to default if you suspect compromise. Remove suspicious extensions. Some malware embeds deeply enough that dedicated removal tools or professional assistance becomes necessary.
Manage Windows Services and Background Apps
Windows runs dozens of background services, many unnecessary for specific users. Search Services in the Start menu and review the list. Set obviously unused services to Manual or Disabled. Examples include Fax, Print Spooler (if you never print), Windows Search (if you rarely file search), and Remote Registry.
Settings > System > Notifications offers additional controls. Disable notifications from apps you do not need interrupting you. This reduces background polling and improves focus.
Privacy settings contain hidden activity. Settings > Privacy & security > Activity history and Diagnostic data let you limit what Windows collects and transmits. Reducing telemetry slightly decreases background processing and network usage.
Defragment or Optimize Drives
Mechanical hard drives fragment over time—files split into pieces scattered across the platter. The drive head travels more, slowing access. Windows includes a defragmentation utility that reorganizes files contiguously.
Search for “Defragment and Optimize Drives.” Select your HDD and click Optimize. Schedule weekly optimization for HDDs. Never defragment SSDs—it wastes write cycles without performance benefit. Windows detects SSDs automatically and runs TRIM optimization instead, which is appropriate and necessary.
Consider a Clean Windows Reinstall
When incremental fixes fail, the nuclear option remains. Reinstalling Windows from scratch eliminates years of accumulated debris, corrupted updates, and conflicting software. The result feels like a new laptop.
Back up all data to external storage or cloud services. Note installed applications and license keys. Create Windows installation media from Microsoft’s official tool. Boot from USB, format the system drive, and install fresh. Reinstall only applications you actively need. This disciplined approach prevents immediate re-accumulation of bloat.
Many manufacturers provide recovery partitions or reset options that restore factory software. Avoid these unless you want the original bloatware back. Clean installation from Microsoft’s media provides the purest result.
| Fix | Difficulty | Impact | Cost |
|---|---|---|---|
| Disable startup programs | Easy | Moderate | Free |
| Uninstall bloatware | Easy | Moderate | Free |
| Clean temporary files | Easy | Low to Moderate | Free |
| Upgrade to SSD | Moderate | Transformative | $40-$150 |
| Add RAM | Moderate | High | $30-$80 |
| Clean Windows reinstall | Advanced | Transformative | Free |
When to Accept Hardware Limitations
Some laptops are simply underpowered by design. A Celeron processor with 4 GB RAM and a spinning hard drive cannot become fast regardless of optimization. These machines suit basic web browsing and document editing but choke on modern websites, video calls, and multitasking.
Recognize this ceiling. If your workflow demands more than the hardware delivers after all optimizations, replacement becomes the rational choice. The cost of hours spent waiting for responses exceeds the price of a modest modern laptop. Apply the fixes above to extract maximum value, then make an informed decision about upgrade timing.
Related Articles
- SSD vs HDD: Which Storage Type Do You Need
- RAM Explained: How Much Memory You Actually Need
- How to Extend Your Laptop Battery Life
- How to Clean Your Laptop Without Damaging It
- How to Choose the Right Laptop for Remote Work
Sources and References
- Microsoft Corporation. (2025). Windows 11 Performance and Maintenance: Official Troubleshooting Guide. Microsoft Support Documentation.
- Tom’s Hardware. (2025, October 15). Revive an Old Laptop: SSD Upgrades and RAM Expansion Benchmarked. Retrieved from tomshardware.com
- PCMag. (2026, January 8). How to Make Your Windows PC Faster: 20 Tips Tested and Ranked. Retrieved from pcmag.com
- Malwarebytes Labs. (2025). State of Malware Report: Resource Hijacking and Cryptojacking Trends. Malwarebytes Annual Security Report.
- Intel Corporation. (2025). Optimizing System Performance: Storage, Memory, and Processor Interaction. Intel Technical Brief.